


Exterior Doors Replacement Heidelberg
Exterior doors replacement in Heidelberg involves assessing your current doors, selecting new units that match your home's specifications and climate needs, and having them professionally installed by experienced technicians. Homeowners in Heidelberg and across the Halton Region-where winters are cold and summers humid-benefit significantly from upgrading to energy-efficient exterior doors that reduce drafts, lower heating costs, and improve security. West Windows & Doors has spent over four decades perfecting this process, working with premium brands like Marvin and Fibercraft to deliver durable, weather-sealed door systems backed by a comprehensive 5-year warranty.
This guide walks you through the essential steps to ensure your door replacement is done right the first time, with the precision and accountability that distinguishes quality installation from rushed work.
Step 1: Assess Your Current Doors and Identify Replacement Needs
Begin by examining each exterior door in your home-entry doors, patio doors, and any secondary exterior access points. Look for visible signs of wear: water damage along the frame, drafts you can feel near the door when it is closed, visible gaps between the door and frame, difficulty opening or closing, or condensation between glass panes if your doors are multi-pane units. Use a handheld thermometer or thermal imaging to detect cold spots around the perimeter, which indicate air leakage. Document the dimensions of each door opening by measuring width, height, and depth from the inside of the frame. Note the swing direction (left or right) and whether hinges are on the left or right side when viewed from outside.
Record the current material-vinyl, wood, aluminum, or fiberglass-and any special features like sidelights or transom windows above the door. This assessment determines whether you need single doors, double doors, or sliding patio doors, and it guides the selection process. Homeowners in Heidelberg should pay particular attention to weatherproofing, since the region experiences significant temperature swings and occasional heavy snow.
Step 2: Select Materials and Specifications for Exterior Doors Replacement in Heidelberg
Choice of material is critical because it affects durability, maintenance, insulation value, and aesthetics. West Windows & Doors offers three primary options:
- Vinyl doors: Low maintenance, excellent insulation (U-values typically between 0.20 and 0.30), and cost-effective. Vinyl does not require painting and resists Heidelberg's freeze-thaw cycles well because the material flexes slightly without cracking.
- Wood doors: Premium aesthetic appeal and superior insulation when properly sealed. Wood requires periodic refinishing and is better suited to sheltered entry locations rather than heavily weather-exposed patio doors.
- Fiberglass doors: Engineered composites that combine wood-like appearance with vinyl-level durability. Fiberglass maintains its finish in temperature extremes and provides thermal performance comparable to wood.
Specify the glass type based on climate and orientation. In Heidelberg, double-glazed (insulated) glass with low-emissivity (Low-E) coating is standard; triple-glazing adds further protection for north-facing or patio doors. Request a minimum air infiltration rating of 0.30 cfm per square foot (cubic feet per minute)-the lower the number, the tighter the seal. Verify the doors meet or exceed ENERGY STAR certification for Ontario's climate zone. Ensure the frame depth accommodates your wall thickness; standard residential frames are typically 4.75 to 6 inches deep.
Step 3: Prepare the Opening and Arrange professional installation
Preparation prevents costly mistakes during installation. Clear the interior and exterior areas around each door-remove furniture, window coverings, and decorative items. Turn off HVAC systems during installation to prevent dust circulation. If you have exterior lighting, trim back vegetation so installers have clear access to the frame. Identify and mark any obstacles like deck railings, siding transitions, or electrical outlets near the door.
West Windows & Doors handles installation with in-house teams trained in proper flashing, sealing, and frame securing techniques. Professional installation includes removing the old door and frame, inspecting the rough opening for square and level, installing new flashing to direct water away from the home, securing the new frame with shims and fasteners at correct spacing, and applying high-quality sealant and caulk to eliminate gaps. The entire process for a single entry door typically takes 2-4 hours; patio doors may take longer depending on complexity. Once installed, new doors should be tested for smooth operation, proper latching, and weatherproofing before the job is considered complete. The 5-year warranty covers both materials and workmanship, giving Heidelberg homeowners assurance that any issues will be addressed promptly.
Frequently Asked Questions
What is the typical cost of exterior doors replacement in Heidelberg?
Cost varies based on door type, material, and quantity. Vinyl entry doors are generally the most affordable option, while fiberglass and wood doors command higher prices. Professional installation is included in most quotes. West Windows & Doors provides transparent estimates after assessing your specific needs.
How long does it take to replace exterior doors?
A single entry door replacement typically takes 2-4 hours for measurement, removal, and installation. Patio doors or multiple door replacements may require additional time. West Windows & Doors schedules work to minimize disruption to your home and daily routine.
Why is professional installation important for exterior doors in Heidelberg?
Proper installation ensures weathertightness, correct drainage, and structural integrity-especially critical in Heidelberg's climate with temperature swings and seasonal moisture. Poor installation leads to drafts, water damage, and voided warranties. In-house professional teams from West Windows & Doors are trained to handle local conditions and building specifics.
Are exterior doors replacement covered by warranty?
West Windows & Doors backs all installations with a 5-year warranty covering materials and workmanship. This means if a door fails or develops issues within that period, repair or replacement is handled at no additional cost to you.
Should I replace my doors if they are drafty but not visibly damaged?
Yes. Drafty doors indicate failed seals or gaps in the frame, which waste energy and increase heating costs. Modern energy-efficient doors reduce these losses significantly. For Heidelberg homeowners, upgrading drafty doors typically pays for itself through lower utility bills within several years.
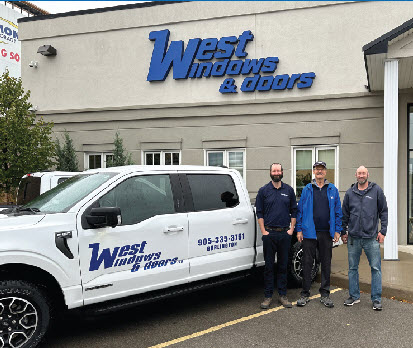
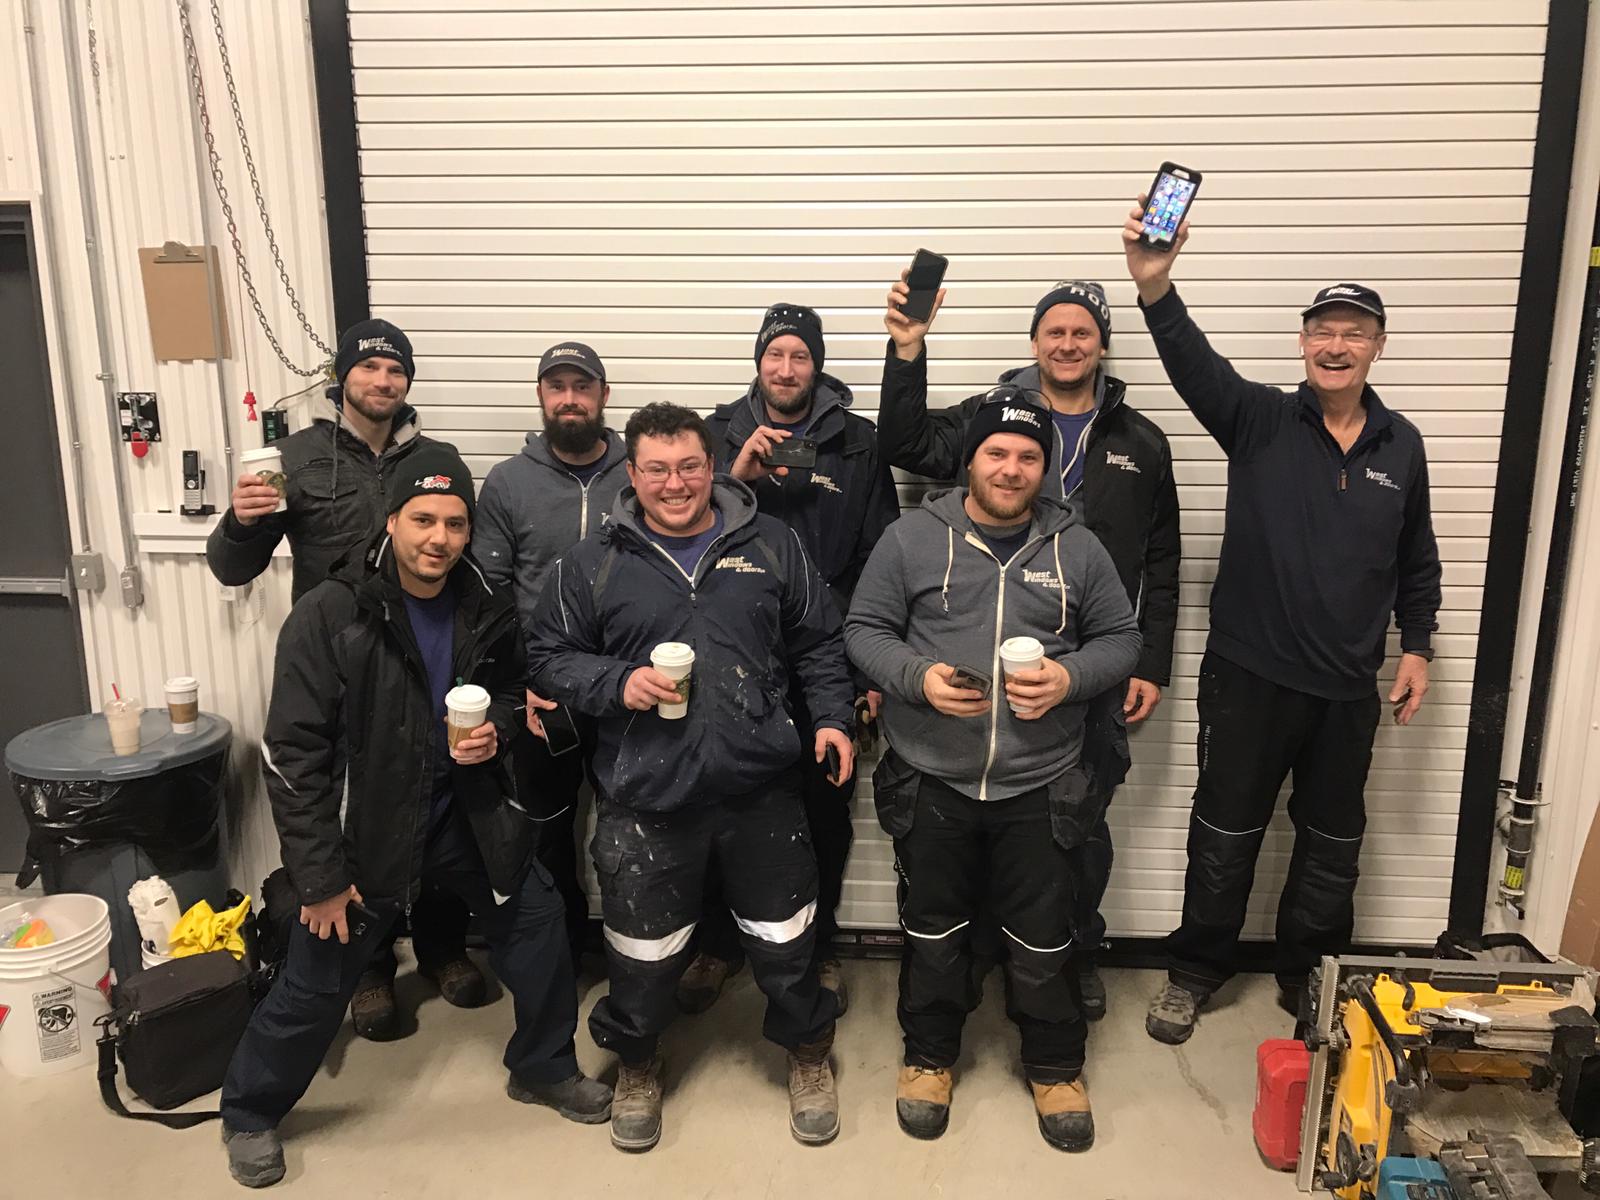
Our Installers
WHY WEST WINDOWS & DOORS?
OUR TRACK RECORD
- Four decades of unparalleled experience and a stellar track record of completing thousands of projects in the Halton community
- Second generation of ownership, we remain unwavering in our commitment to to our deep understanding of the industry
- Our dedication to innovation and modern technologies ensures that we uphold our legacy of excellence while evolving with the times
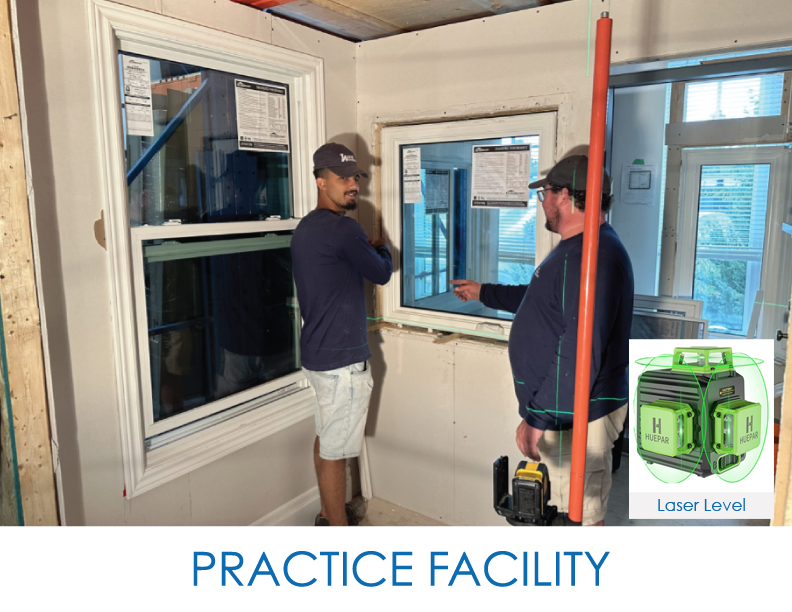
In-House Training Program:
West Windows prioritizes professionalism and skill development through its in-house training program for installers. By investing in the ongoing education and training of their staff, West Windows ensures that every installer is equipped with the latest techniques, best practices, and product knowledge. This commitment to continuous improvement not only enhances the quality of installations but also reflects the company’s dedication to maintaining high standards of excellence and customer service.

Contact our sales team today
Entry Doors

Rail & Stile

Windows

Patio Doors


Fiberglass Doors
West Windows has dealt with many door supplier companies and has found one that rises above the competition, “Fibercraft Door Company.” Fibercraft is located in the small town of Hanover, Ontario. Hanover was a furniture mecca in the 1800’s and is one of the few companies that carry on the tradition today.

Vinyl Windows
Our Windows made by Strassburger offer the highest quality vinyl replacement windows which makes them the first choice for many homeowners. Built with durability and energy efficiency, we believe they are the best long term value for our customers.

Wood & Fiberglass Windows
All our windows are custom made for a precise fit in your home and installed by our own in house installation team. In addition, our windows reach the highest ratings of CSA testing they test for forced entry, water leakage, air leakage and wind resistance.
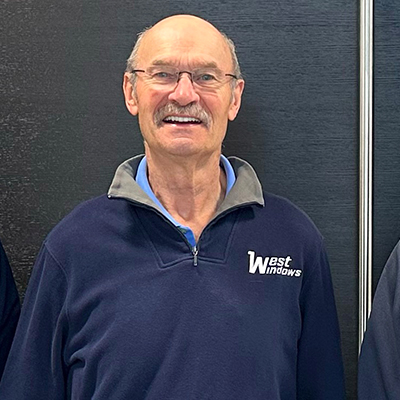
Ralph West
Founder & CEO
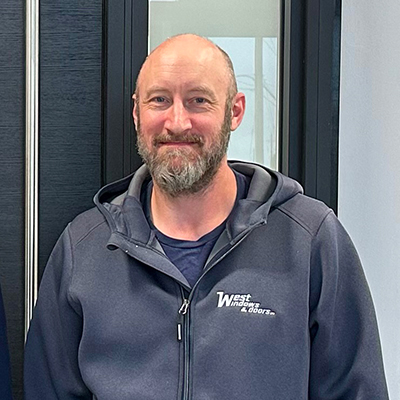
Ryan West
Installation Manager
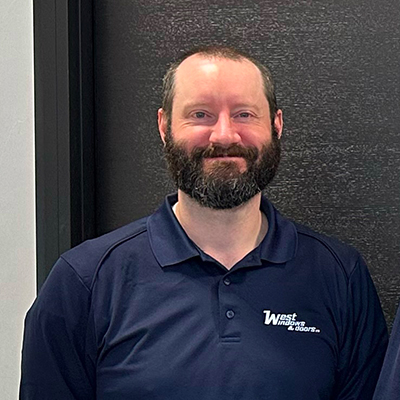
Christopher West
General Manager
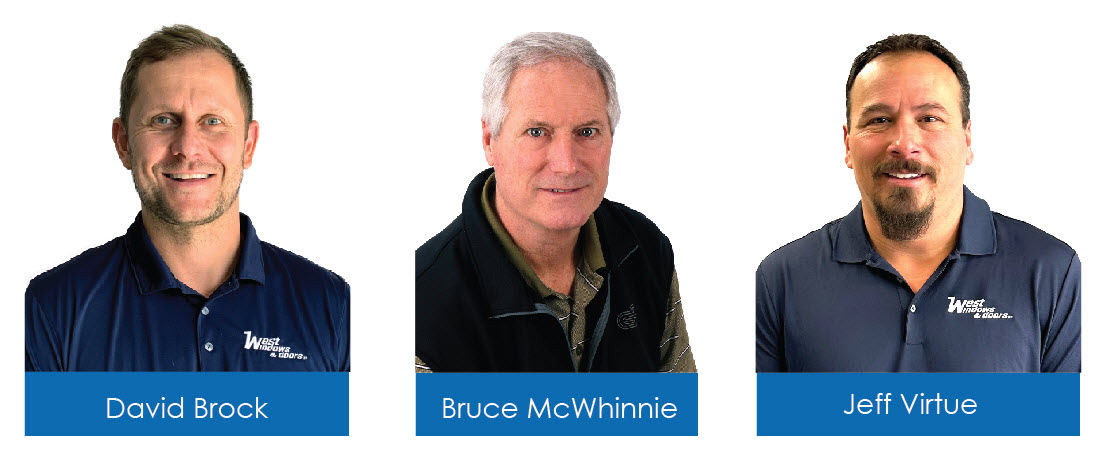
With four decades of experience and now in its second generation of ownership, West Windows boasts a rich history of providing top-notch window solutions. This longevity speaks volumes about the company’s reliability, expertise, and commitment to customer satisfaction. Clients can trust that their windows are being installed by a company with a proven track record of excellence and a deep understanding of the industry.

Come visit our beautiful showroom
2462 Industrial St Burlington
Just north of Guelph Line visit Burlington’s best Window and Door showroom. Speak with one of our educated sales representatives and learn about the West Windows Difference!